Stance
Shoes off, please.
there are four components to stance. you’re best off barefoot. get rid of your shoes. your feet will thank you.
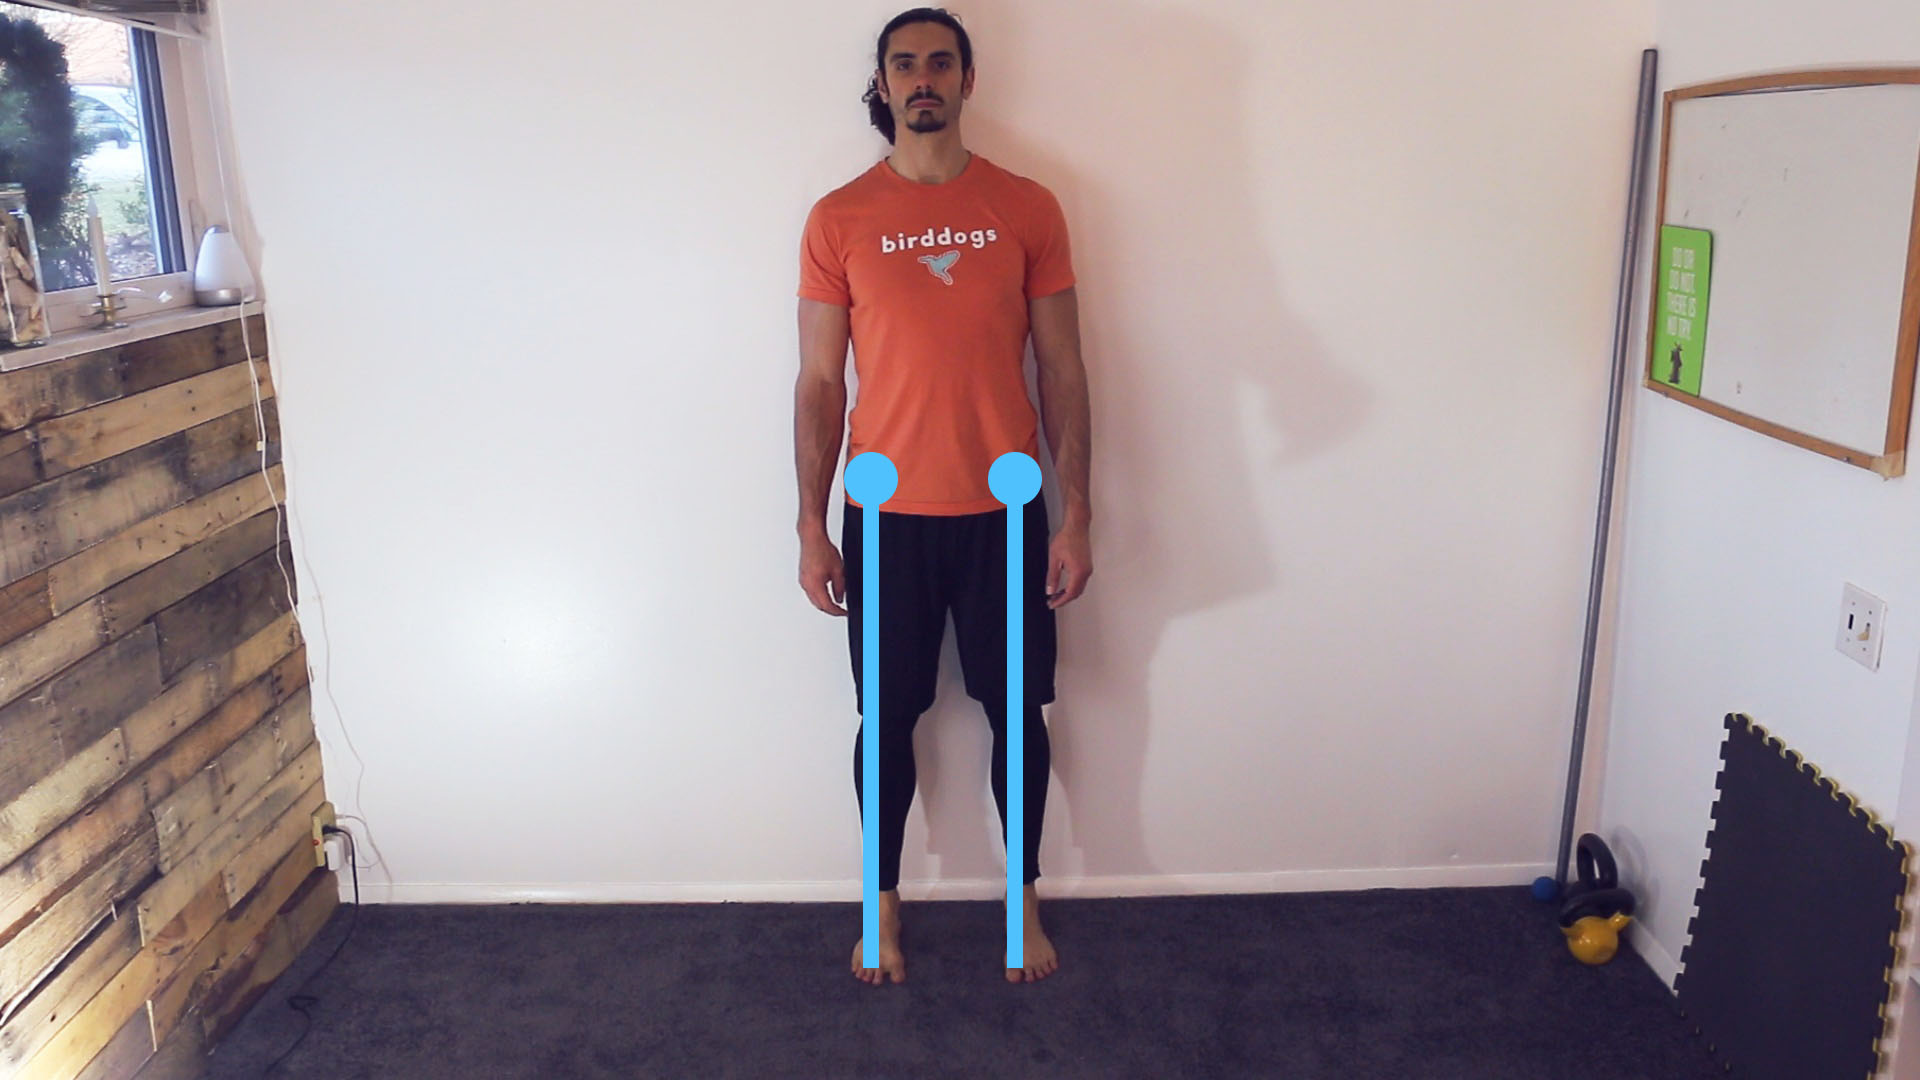
first, hip width.
draw a straight line down to the ground from your hip socket. this is where you plant your feet.
second, feet forward.
face your feet forwards. same direction your nose points.
third, knees straight.
your knees should be straight. if you squeeze your quads (muscles on the front of your thighs) as hard as you can your knees will be locked out. this is not straight. if you ease off the contraction and slowly push your knees forward until you have a visible bend, this is also not straight. keeping your legs “straight” means keeping them in between these two extremes: lockout and bent.
fourth, tripod.
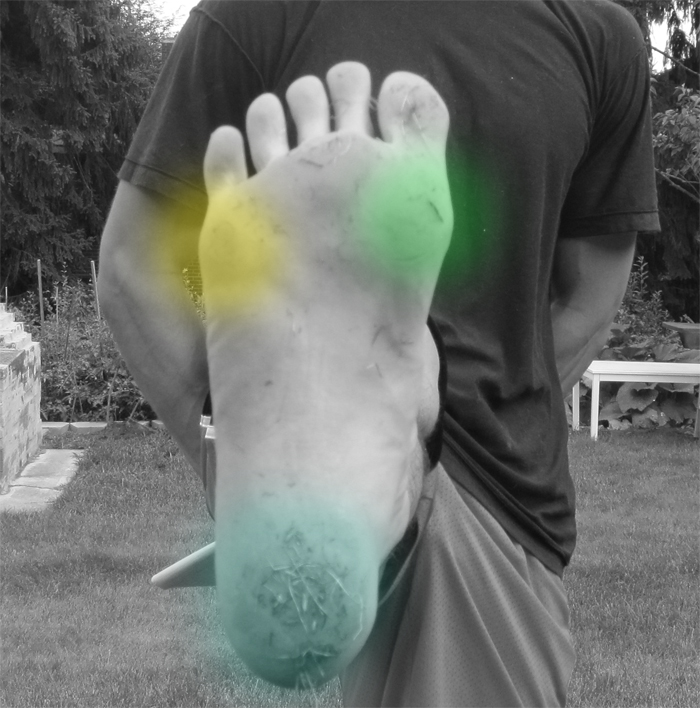
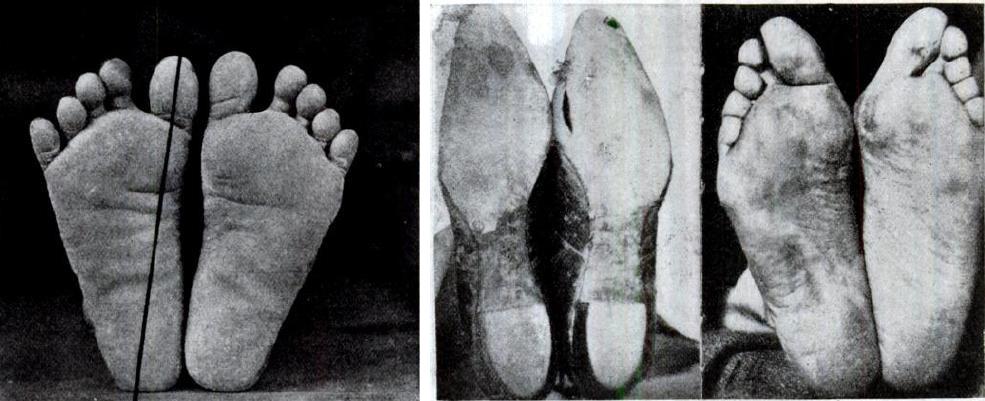
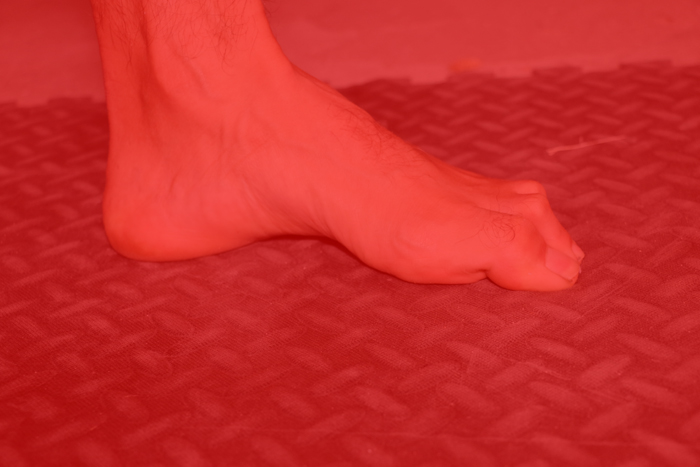
carry your weight evenly across your tripod and your toes, especially your great toe. (ideally, you’d also have gaps between your toes, but, if you don’t, that’s okay.)
your tripod consists of the three bony protuberances on the bottom of your foot. the top two points (yellow and green, below) are the forefoot. the lone point opposite of the forefoot is the heel.
help?
of the four components to stance, you’ll struggle most with carrying your weight evenly across your tripod and your toes. most people (myself included) have lackluster feet, thanks to socks and shoes. if you put your arm in a cast, your arm will shrink and die. shoes and socks are casts for your feet — a socially acceptable form of Chinese foot binding.
your feet and your toes are supposed to be more like your hands and your fingers. your pinky toe shouldn’t be smashed and tucked underneath your foot. you should be able to move your toes independently. your feet should be wide, not narrow.
perhaps i’ll devote a future drop to rebuilding your feet. until then, use the following sequence to help you carry your weight across your tripod and toes better.
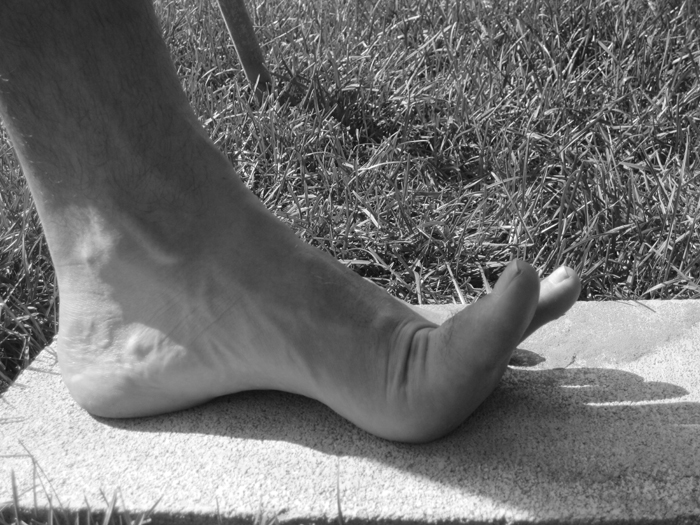
first, lift your toes.
lifting your toes to your nose will expose each point of the tripod and give you better tactile feedback.
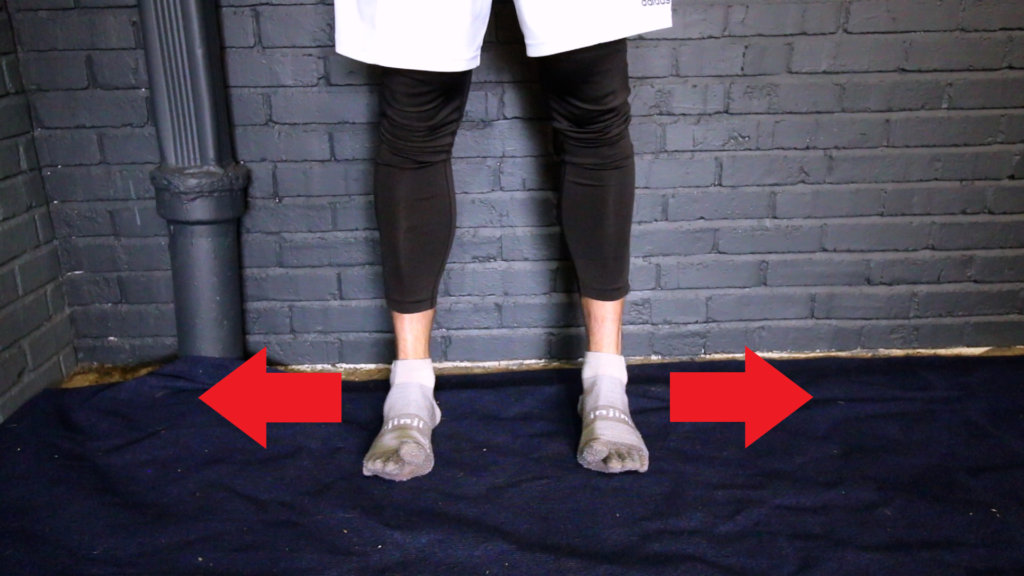
second, spread the floor.
from the toes-to-nose position, you want to balance your weight evenly across your tripod. for most people, this involves a conscious shift towards the outside edge of the foot. (most people are “overpronators.” they carry weight towards the insides of their feet and have somewhat collapsed arches.)
shift weight towards the outside edge of your foot by “spreading the floor apart” with your feet. this will activate your hip rotator muscles.
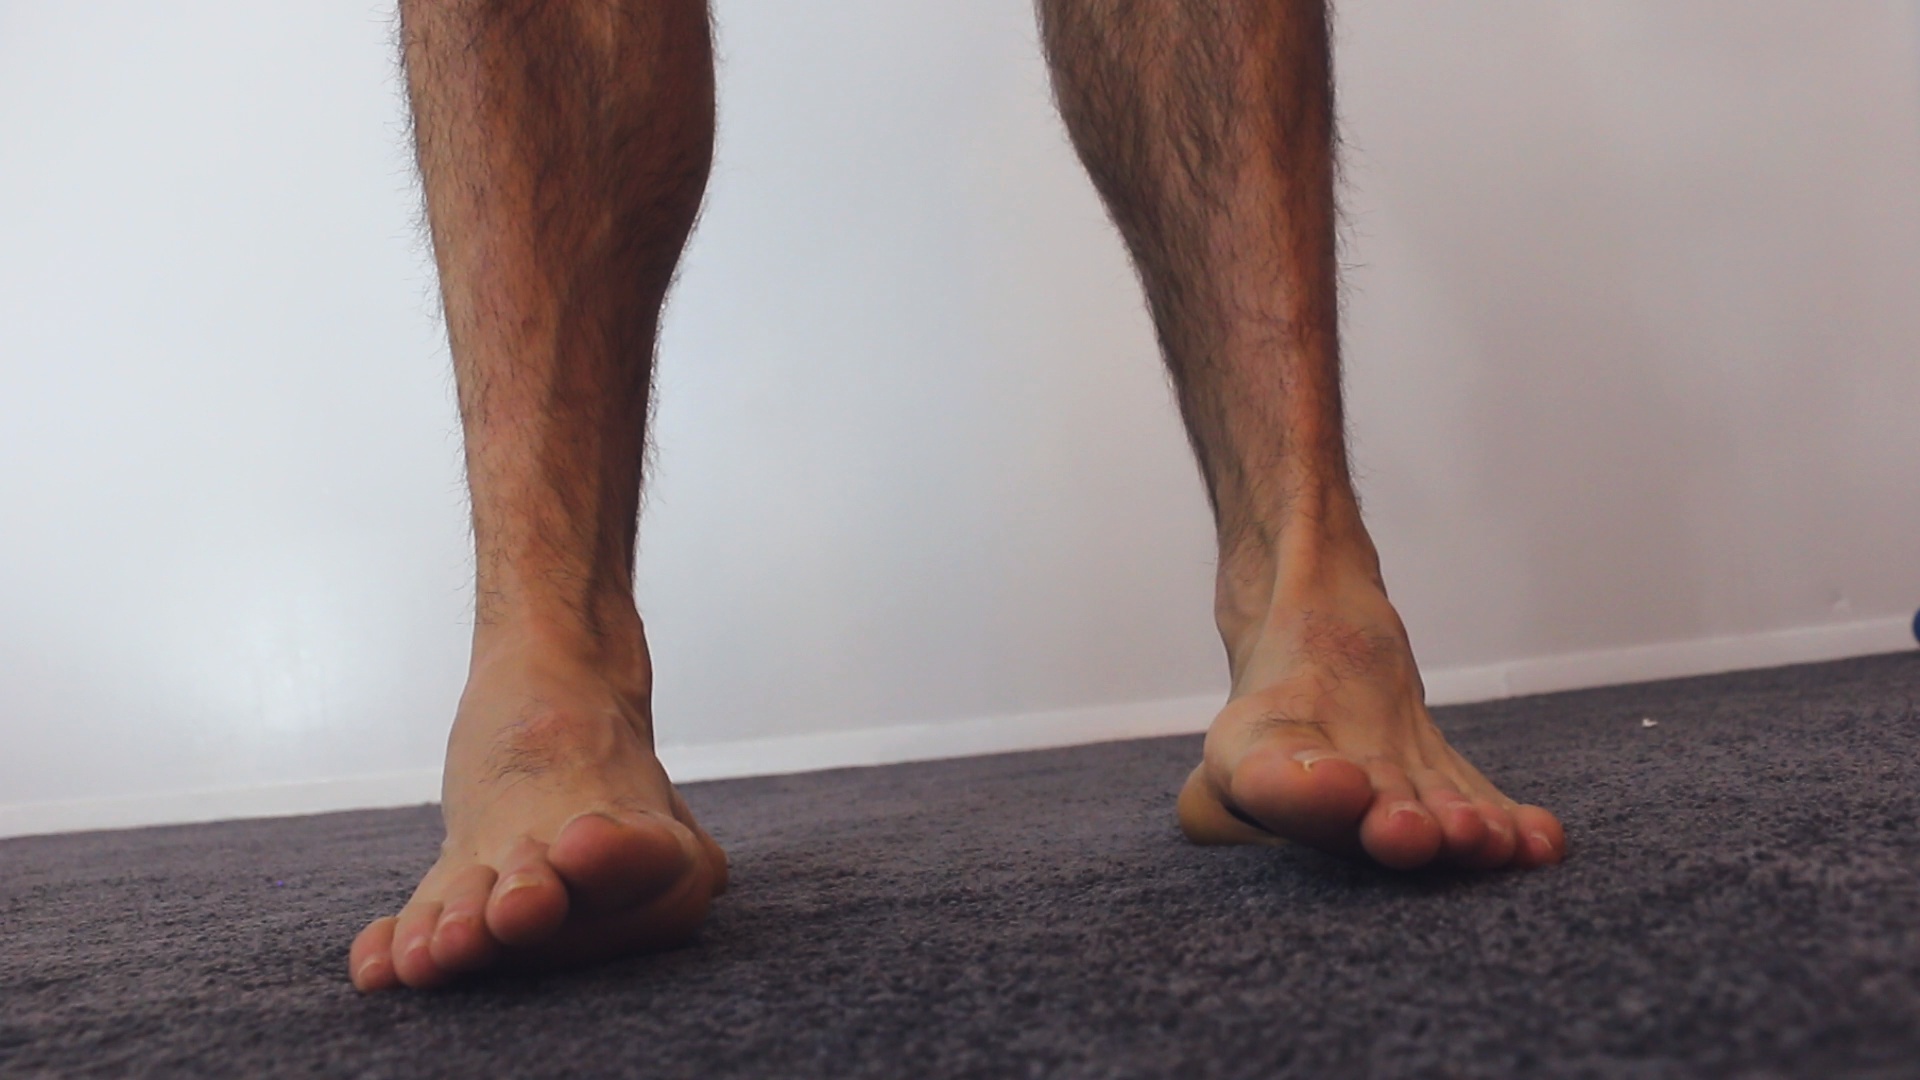
third, toes down.
after you spread the floor and distribute your weight evenly across your tripod, set your toes down.
i like going from pinky toe to great toe, setting them down one at a time. they should join your tripod as weight-bearing structures, with your great toe taking on the most weight.
three important notes:
first, if your aren’t making contact with the floor after you set them down, you’re probably twisting (inverting) the ankle to hit the outside edge of the foot. not good.

second, when you set your toes down, they should lay flat. they shouldn’t claw. DO NOT CLAW YOUR TOES.
third, your arch should be active. your arch is NOT a weight-bearing structure.
recap.
- Feet under your hips.
- Feet straight.
- Knees straight.
- Weight distributed across your tripod and toes.
when your stance is neutral, your hips will track over your knees and your knees will track over your toes. your arch will be alive and active. this “neutral” alignment sets a solid foundation for your pelvis. speaking of which…
Pelvis
Don’t spill.
your pelvis is the giant bowl-shaped muscle your spine funnels into. a neutral pelvic position is a centered bowl that won’t spill water. for simplicity’s sake, we can boil not neutral into two different tilts (in the sagittal plane): anterior pelvic tilt and posterior pelvic tilt.
anterior tilt.
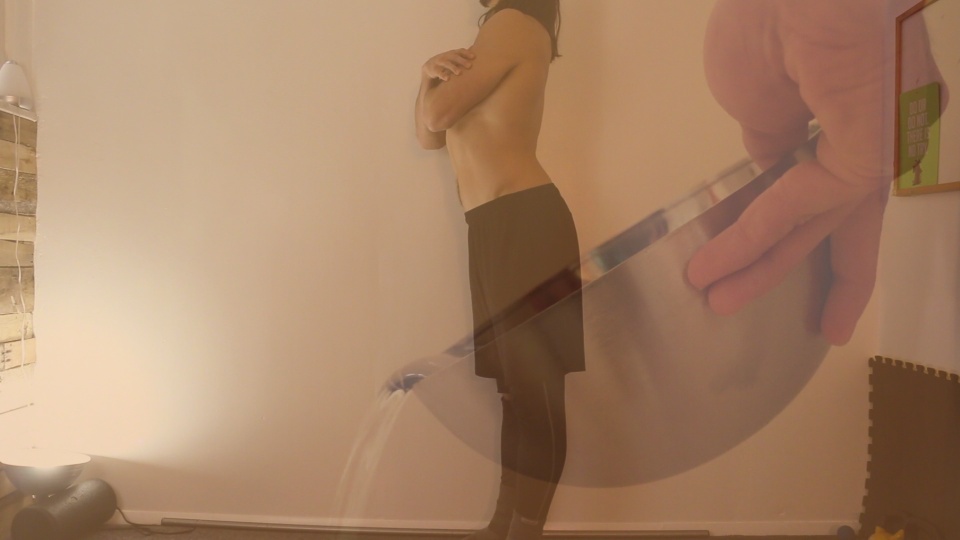
an anterior pelvic tilt is when the front of the pelvis is rotated forward towards the floor. water would spill out of the front of the pelvic bowl. the lower back (lumbar spine) contracts. it goes into extension. lower back (lumber) extension is also known as arching. when you arch your lower back, your abs stretch, which makes the front side of your body weak and vulnerable. you wouldn’t be able to take a punch to your gut. this position also elongates the hamstrings.
posterior tilt.
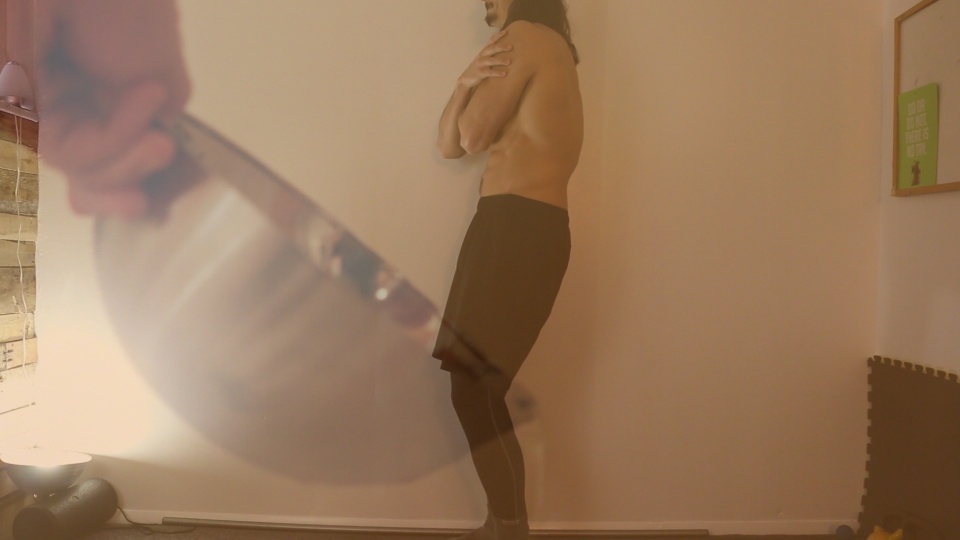
a posterior pelvic tilt is when the front of the pelvis is rotated backwards towards the sky. water would spill out of the back of the pelvic bowl. the lower back (lumbar spine) goes into flexion. lower back (lumber) flexion is also known as rounding. when you round your lower back, the abs the and hamstrings shorten.
neutral pelvis.
a neutral pelvic position is between an anterior tilt and a posterior tilt; the bowl is level and won’t spill water. your lower back (lumbar spine) will assume its natural (slightly concave) curve.
buttgut.
the best way to assume a neutral pelvic position is with the buttgut (a drill I invented). make sure your stance is solid:
- Feet under hips.
- Feet forward.
- Knees straight.
- Weight across tripod and toes.
from this position:
- Rise onto your tiptoes.
- Squeeze your butt as hard as you can.
physically punch your butt, in order to ensure you’re squeezing. and while you’re on your tiptoes, with your butt squeezed, take note of your abs.
chances are, your abs will be “on.” they will have some tension, and you’ll be able to take a punch to the gut. if your abs are soft and vulnerable, then give them some tension. poke and punch yourself in the gut, to ensure you’re contracting your abs.
when you’re on your tiptoes and you have tension in your butt and your gut, it’s almost impossible to have an anterior or posterior pelvic tilt. you’ll be close to neutral.
you want to take this feeling to a regular standing position. so from your tiptoes with your butt and abs tense, slowly lower your heels to the ground, while trying to maintain tension in your butt and your gut. once your heels are on the ground, reduce tension in your butt and your gut to around 25%. you don’t want to be as tense as possible, but you do want some firmness in both areas.
recap.
your pelvis should be centered and still. water shouldn’t spill out of your bowl. this allows your lumbar spine (lower spine) to adopt its natural (slightly concave) curve, which will set a solid foundation for your upper spine. speaking of which…
Shoulders
Set ’em and forget ’em
the shoulder blades (scapulae) are the triangular-shaped bone on your back. your shoulder blades connect to your collar bones and create the cavity your upper arm sucks into. shoulders are Neutral when they are “set.”

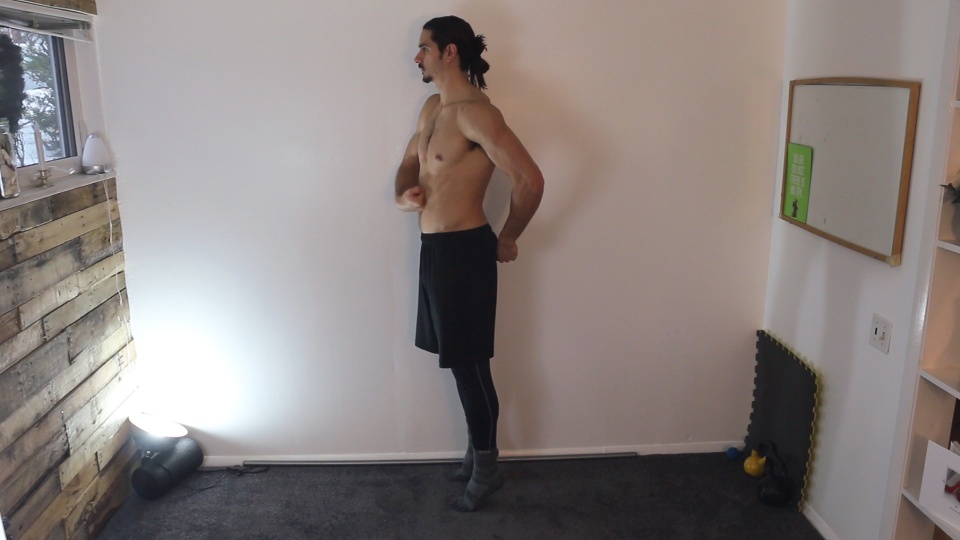
setting shoulders.
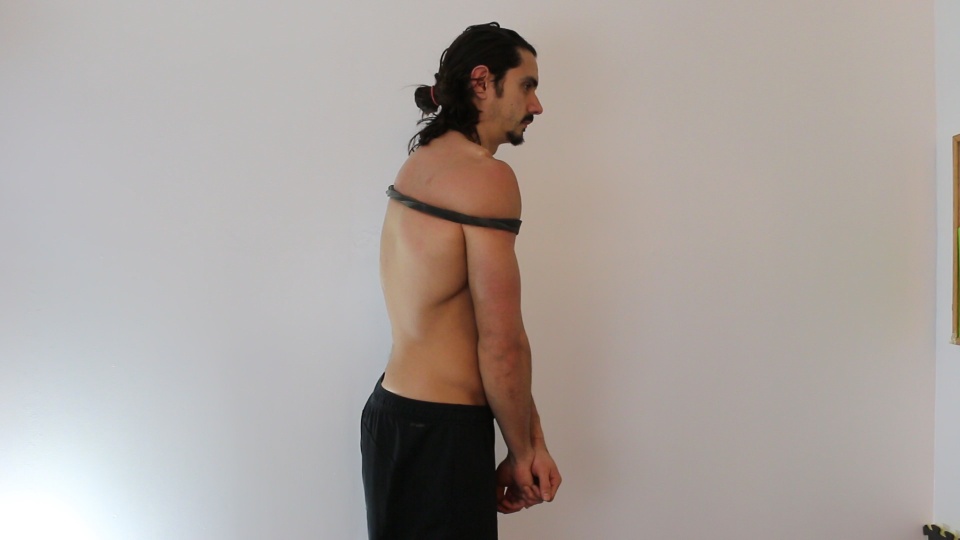
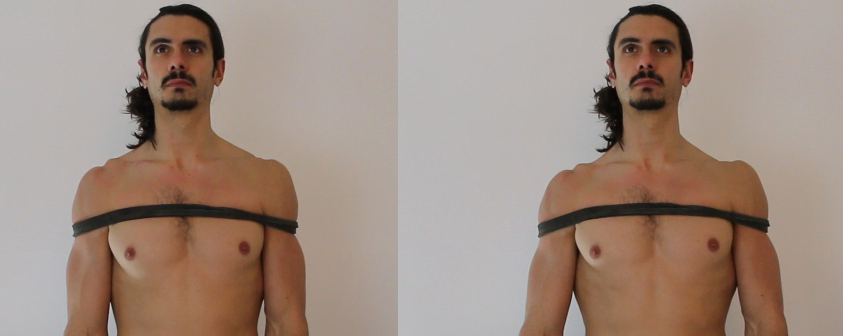
you set the shoulders by pulling your upper arms into their sockets. imagine looping a band around your shoulders. the band squishes your shoulder blades together, forcing your shoulder blades into a protracted position. in other words, your shoulder blades will be crushed towards the front midline of your body
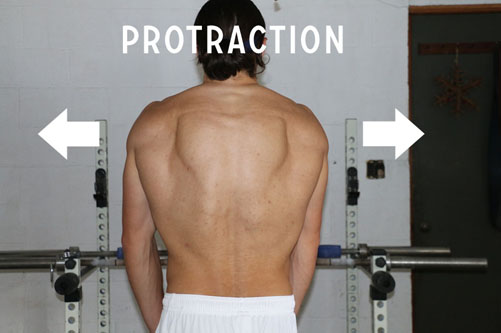
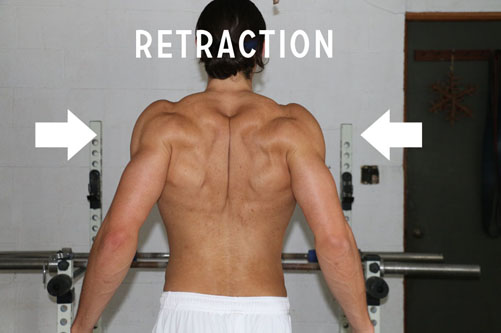
the opposite of this (and how most people incorrectly try to fix their so-called “bad” posture) is retraction of the shoulder blades, which squishes them towards the back midline of the body.
in order to set your shoulders, think about becoming as wide as possible; stretch the band horizontally, as far as possible, without moving your upper arm. imagine if someone had a measuring tape going across your collar bones. the objective would be to stretch the measurement as far horizontally as you could.
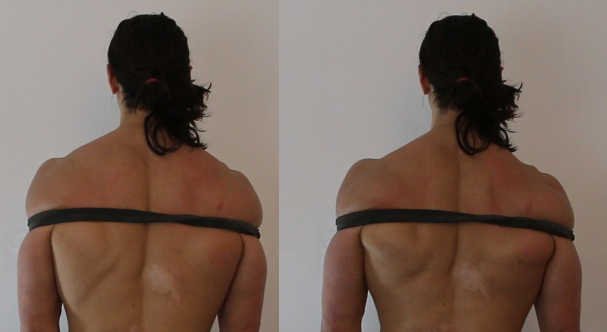
you’d do a motion akin to trying to break free from the rope around your shoulders. your chest should puff up a tad (without putting your lower back into extension — maintain the same neutral lower spine position). you’ll probably have some scapular depression and some retraction, pending your current posture, but it won’t be MAXIMUM.
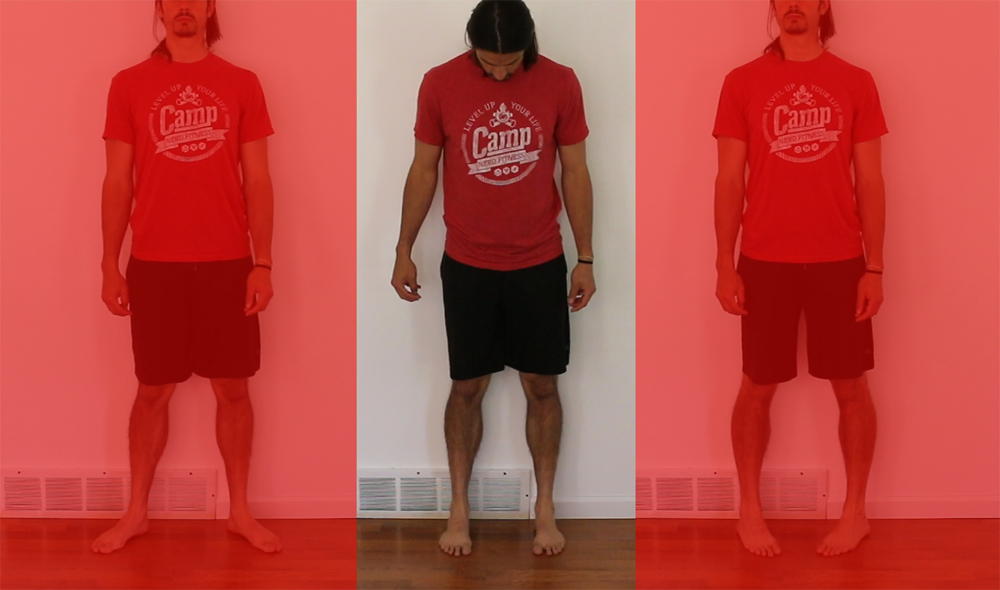
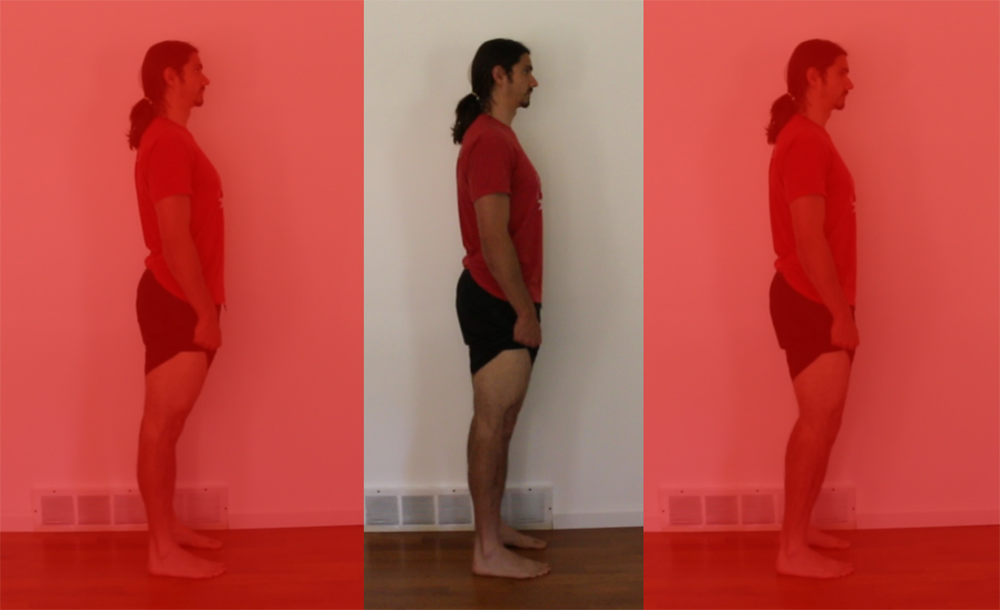
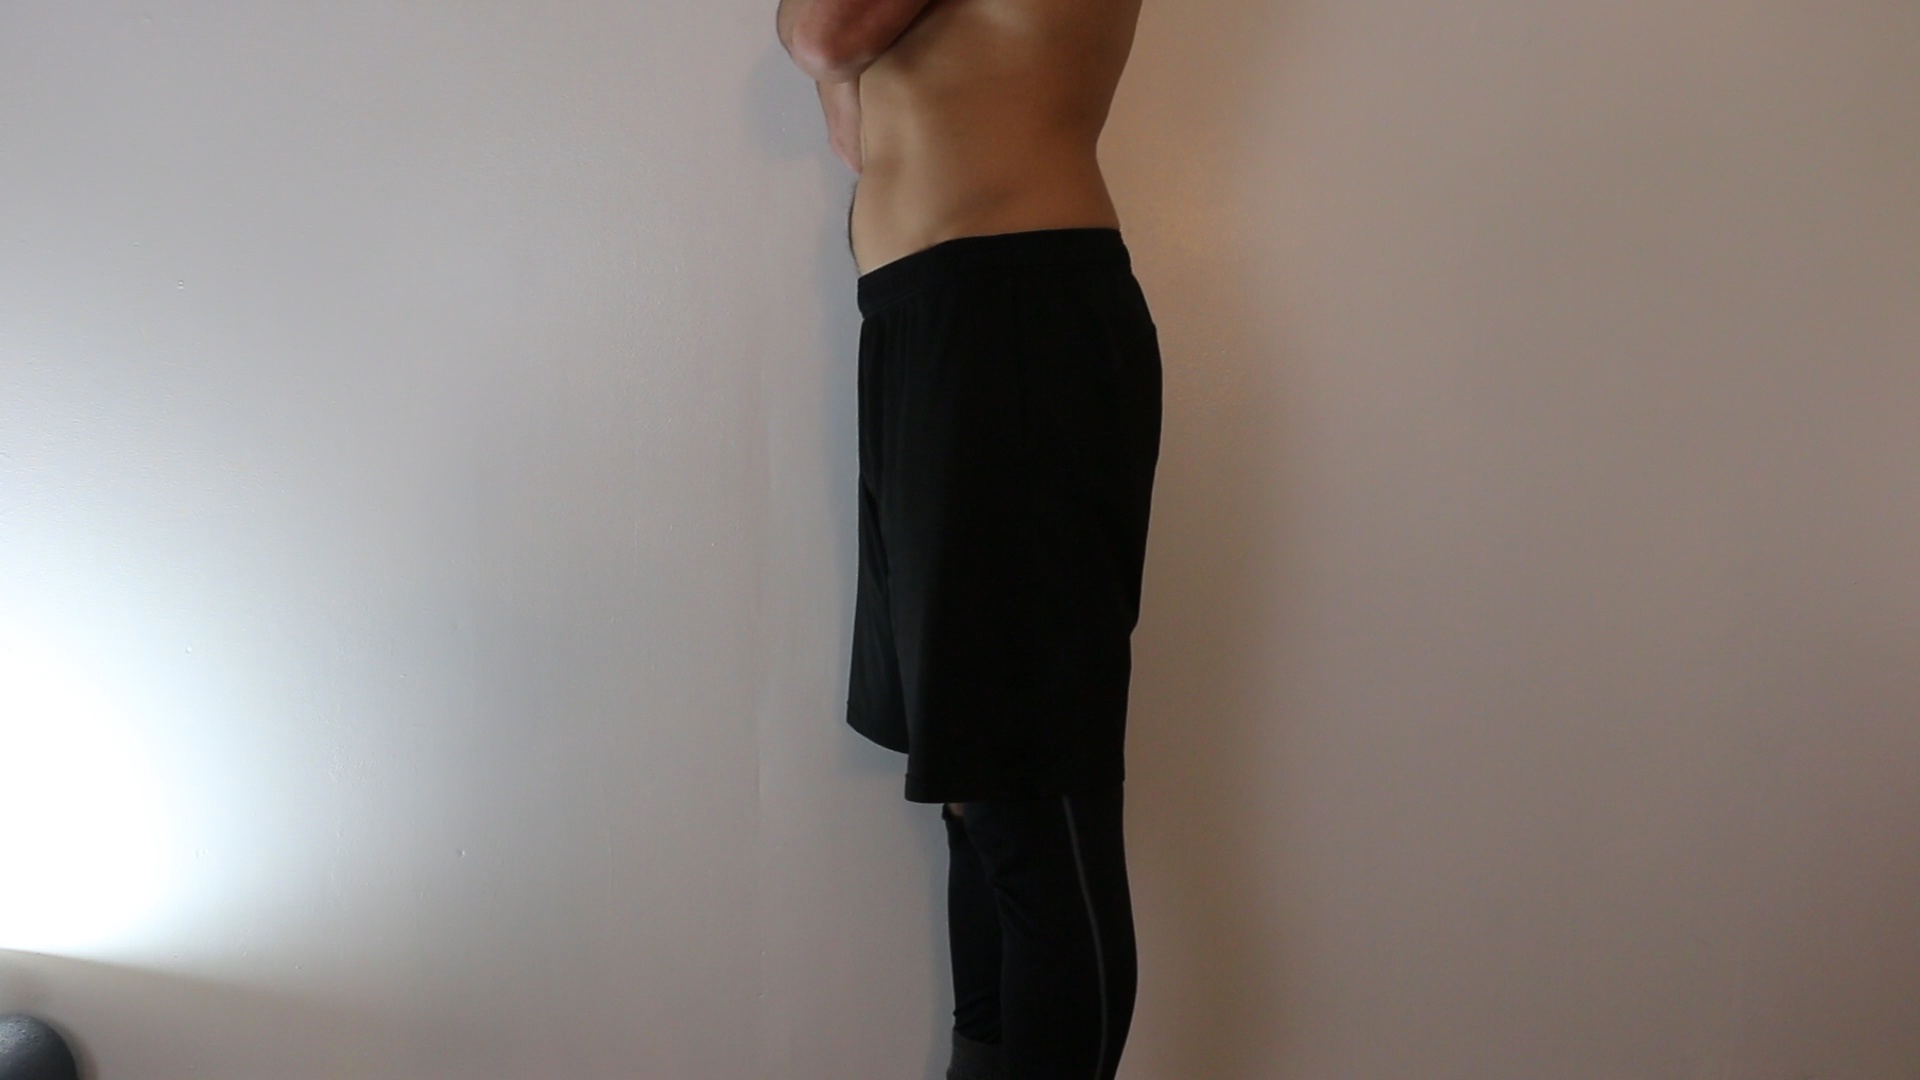
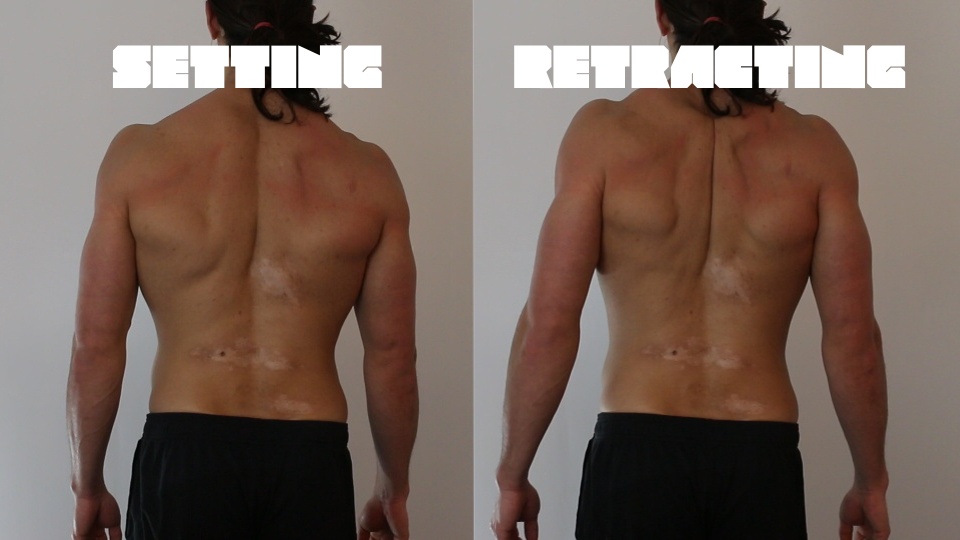
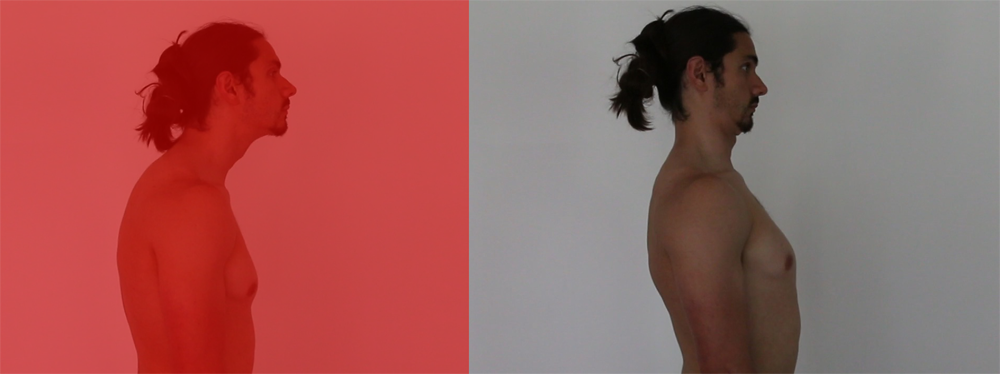
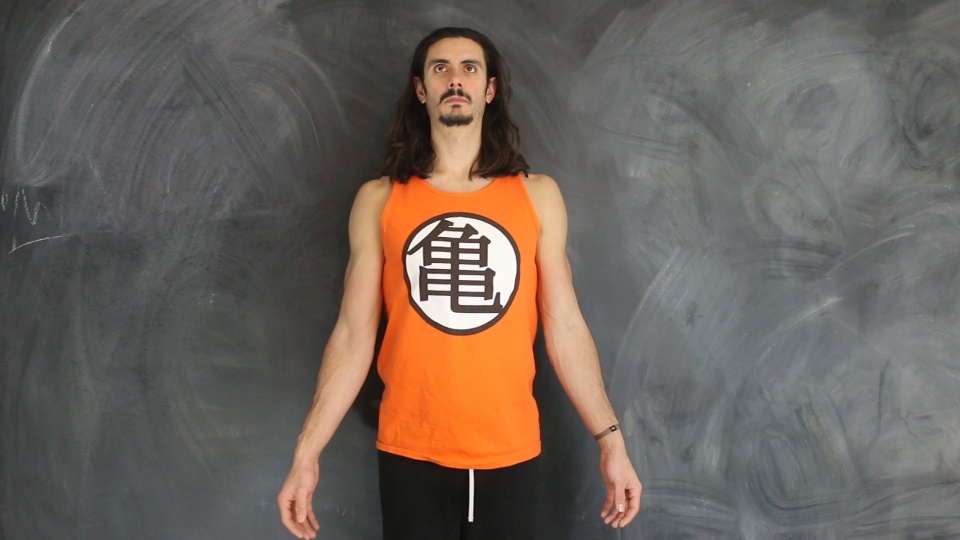
for perspective, look at the difference between the two photos below. you can see the muscular differences between setting the shoulders and retracting the shoulder blades.
recap.
set your shoulders in their sockets by pulling and stretching your collar bones horizontally. when your shoulders are set, your thoracic spine (mid-back) will adopt its natural (slightly convex) curve, which will set a solid foundation for your neck. speaking of which…
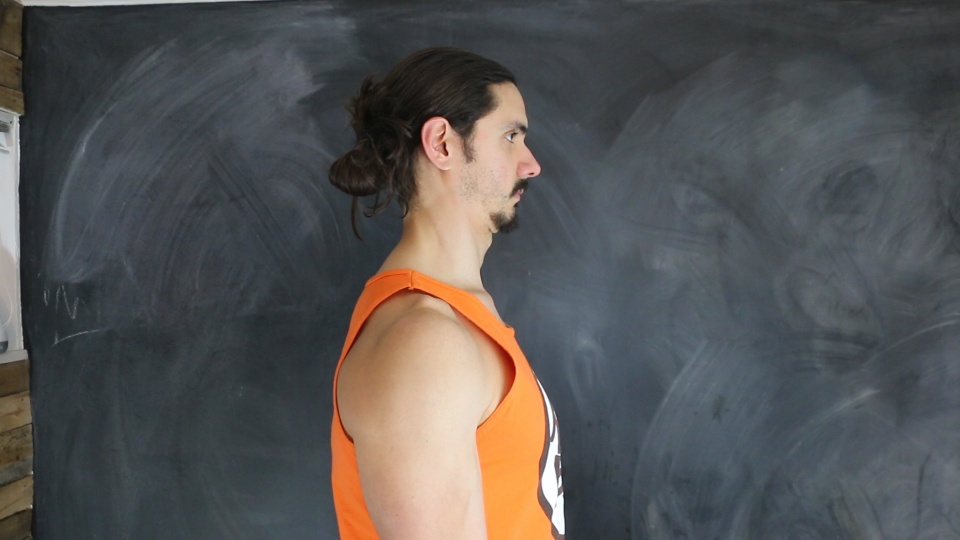
Neck
Pack your bags.
the neck is also known as the cervical spine. you get your neck in a neutral position by packing.
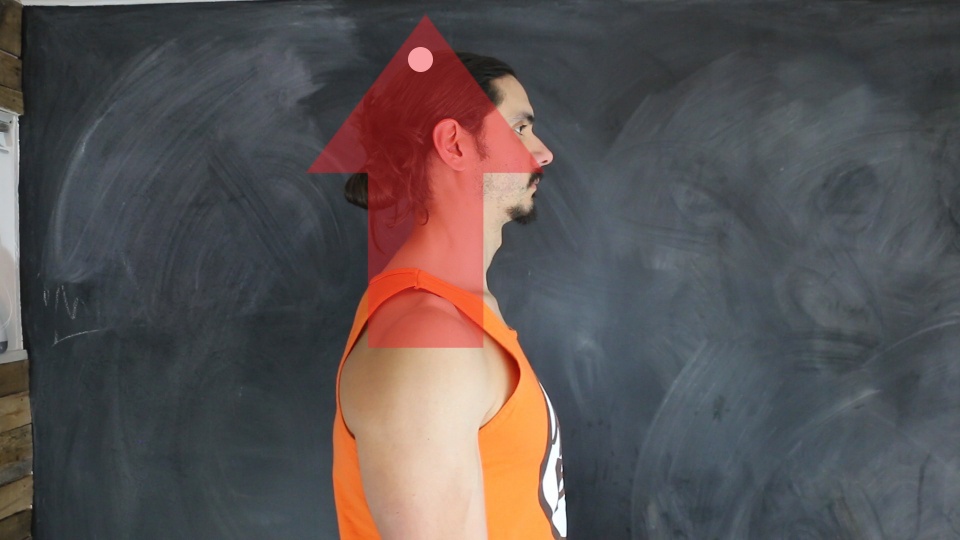
neck packing.
there are two useful cues, to help with packing your neck. first, imagine there’s a string tied to the crown of your head, which is being gently pulled towards the sky.
second, tuck your chin into your neck, and then retract your head. you want to make sure that your head is centered over your body. don’t let your forehead fall forward.
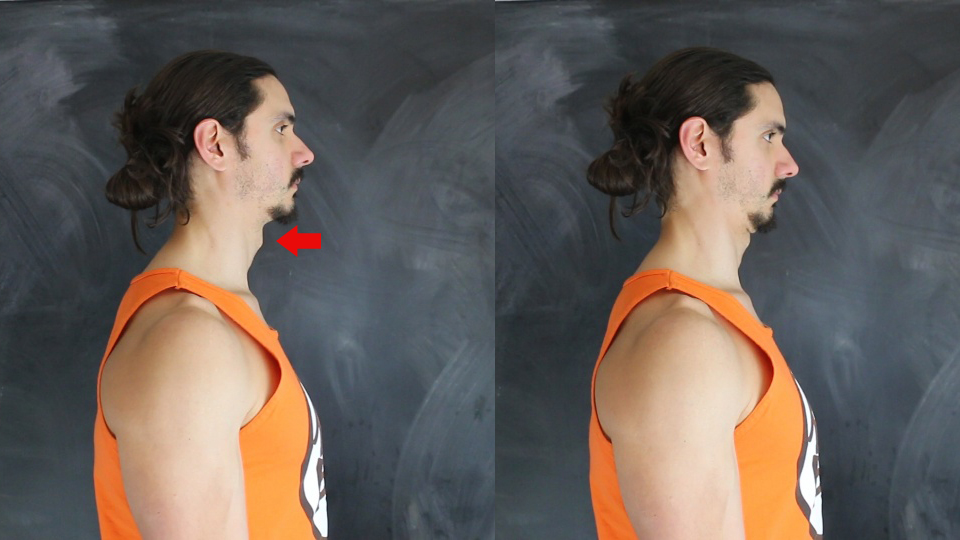
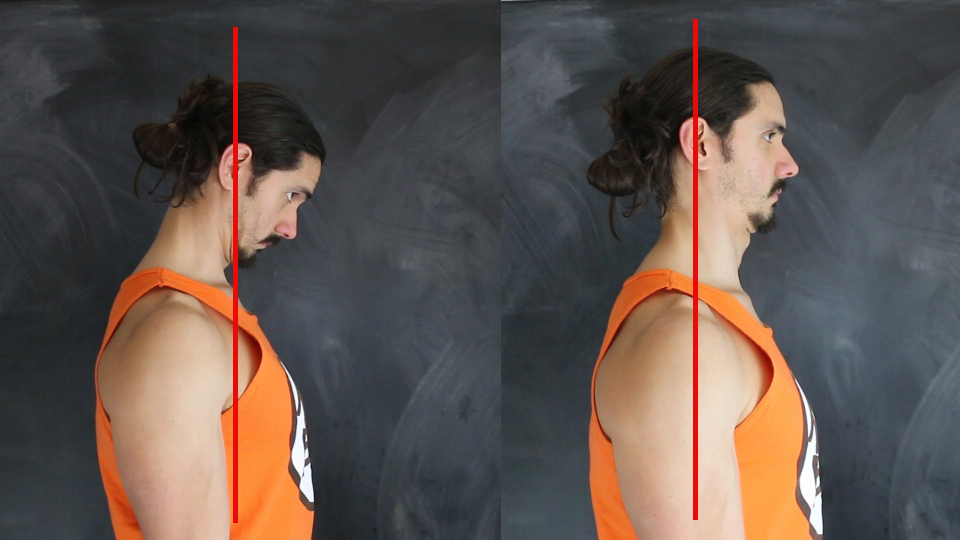
falling forehead is common when you’re just starting to get a feel for packing. you can gauge this by dropping a vertical line from your ear. your ear should be above your shoulder, not ahead of your shoulder.
recap.
pack your neck by pulling the crown of your head to the sky and retracting your head. when your neck is packed, your cervical spine will adopt its natural (slightly concave) curve, which finalizes your spinal foundation, allowing us to take a closer look at the arms…
Arms
Anti-ape adventures.
you get your arms into a neutral position by screwing your upper arms into their sockets. first, let’s separate the upper arm from the lower arm.
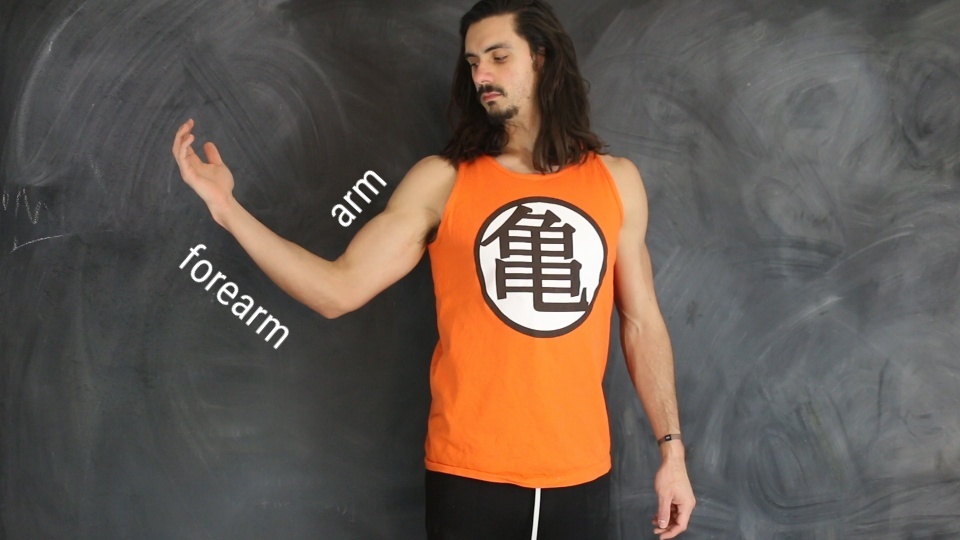
two arms.
the lower arm is usually referred to as the “forearm.” the upper arm typically gets the “arm” label. understanding the difference between the two is important because your forearm rotates independently of your upper arm.
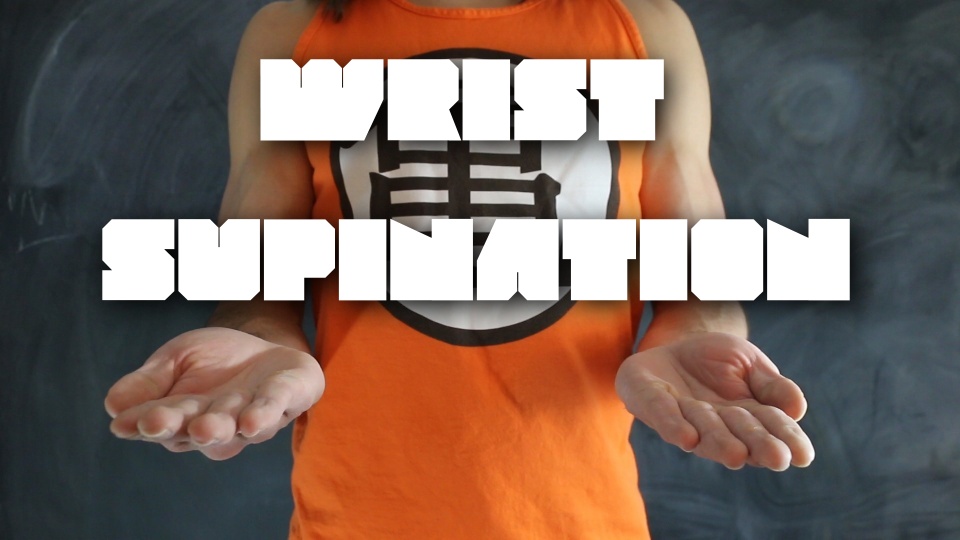
forearm rotation consists of wrist pronation and wrist supination. if you bend your elbow at a 90° angle and rotate your wrist to hold a bowl of soup, you’re supinating. if you rotate your wrist to swat a fly, you’re pronating.

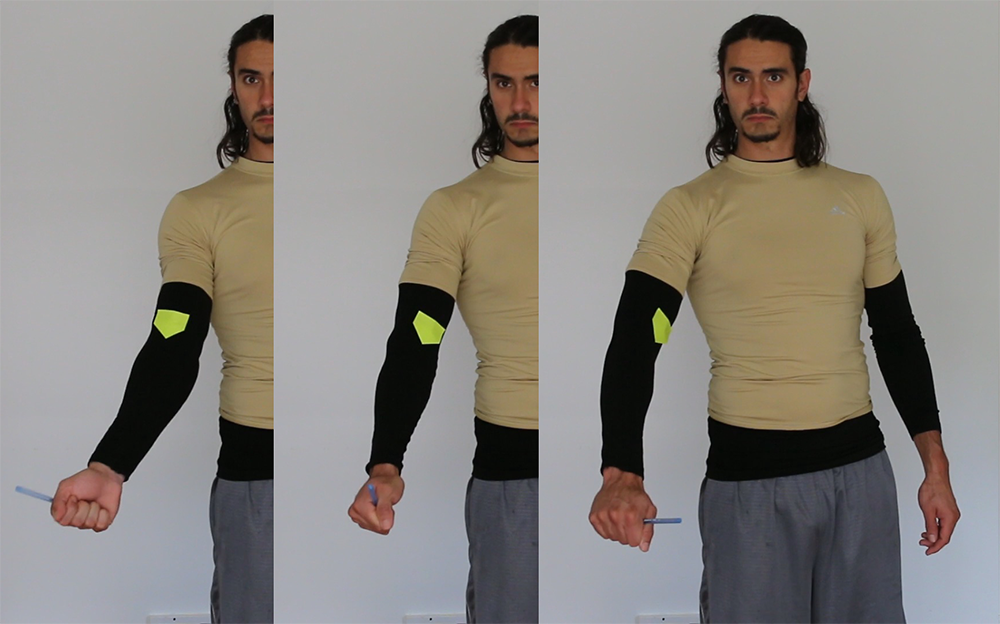
rotation of the upper arm is different and is easiest seen by looking at the elbow cavity, which is also known as the eye of the elbow.
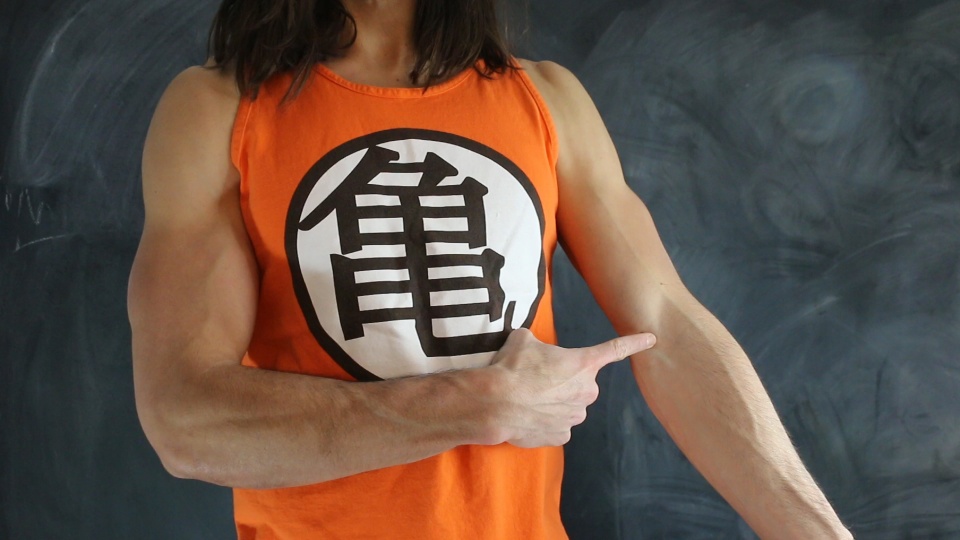
if you pronate and supinate your wrist, the eye of the elbow won’t move. if you rotate your upper arm, your eye WILL move. check out the picture below. i’m rotating my forearm. the green arrow pointing at my elbow cavity doesn’t change location, yet my wrist position does.
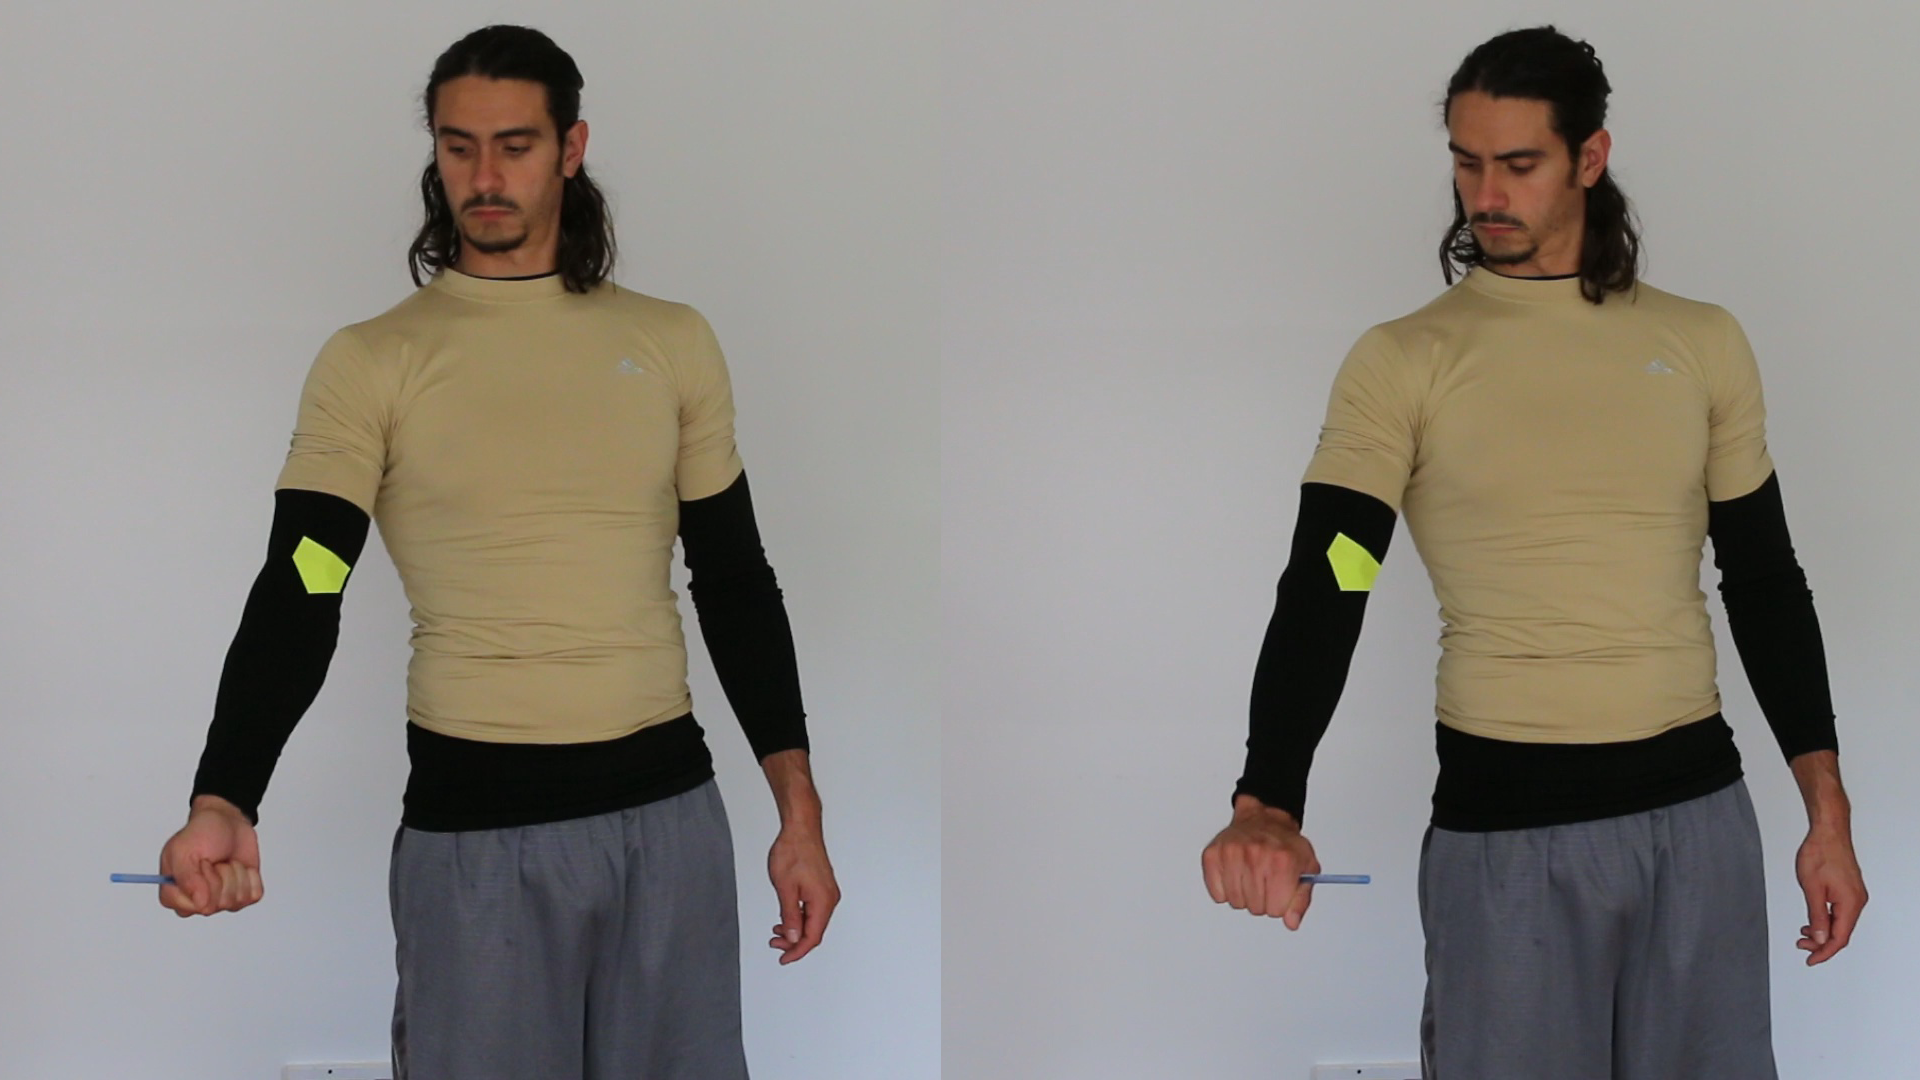
on the contrary, when i rotate my upper arm, the green arrow DOES change location.
screwing.
your arm is in a Neutral position when the eye faces forward. pending your current flexibility and mobility, this may happen without thought. most people, however, need to externally rotate their upper arms in order to reach neutral, thanks to sitting in chairs, typing on keyboards, and fiddling with phones,
rotating your upper arm, screwing your arm into its socket while keeping your shoulders set, will bring your elbow cavity to a more forward-facing position.
recap.
your elbow cavity should be facing forwards. this will affect your wrist position. speaking of which…
Wrists
Wrist watch.
your wrists are the final piece to Neutral Posture. don’t cry. i’m sad this is ending, too…
watch your wrists.
your wrist is neutral when, if you’re holding a pen, the pen would face forwards. so after you screw your upper arm into its socket, make whatever adjustment is necessary to get your wrists into this position.
Recap
Ohhh, I ‘member.
we’ve covered a lot. here’s the information above in chunks for easy future reference.
Stance:
feet under your hips.
toes forward.
knees straight.
tripod and toes.
Pelvis:
centered bowl.
buttgut.
Shoulders:
set in sockets.
widen collar bones.
Neck:
packed.
crown to clouds.
Elbows:
eyes face forwards.
screw arms into sockets.
Wrists:
pen point forwards.
What now?
as mentioned, Neutral Posture is a specific orientation that helps establish a universal language.